


Why Is My Generator Running but Not Producing Power?
A generator that starts normally but does not produce electricity can be frustrating. The engine sounds fine, the machine seems to be working, but your tools, lights, or appliances still have no power.

The good news is that this problem is often caused by a few common issues, and some of them are easier to check than many users expect. In many cases, the problem is not the whole generator. It may simply be a tripped breaker, a loose connection, a faulty outlet, or a damaged voltage control part. Some manufacturers also note that a generator can be running without supplying power when the main breaker is not in the correct position.
This guide walks through the troubleshooting process step by step in a simple way, starting with the easiest checks first.
Step 1: Make Sure the Problem Is Really the Generator
Before opening anything or assuming there is an internal fault, confirm that the issue is not coming from the device you are trying to power.
Try these quick checks:
- Plug in another simple device, such as a work light
- Test a different outlet on the generator
- Remove extension cords and plug a load directly into the generator if possible
- Make sure the connected device itself is not faulty
Sometimes the generator is producing power, but the extension cord, plug, or appliance is the real problem.
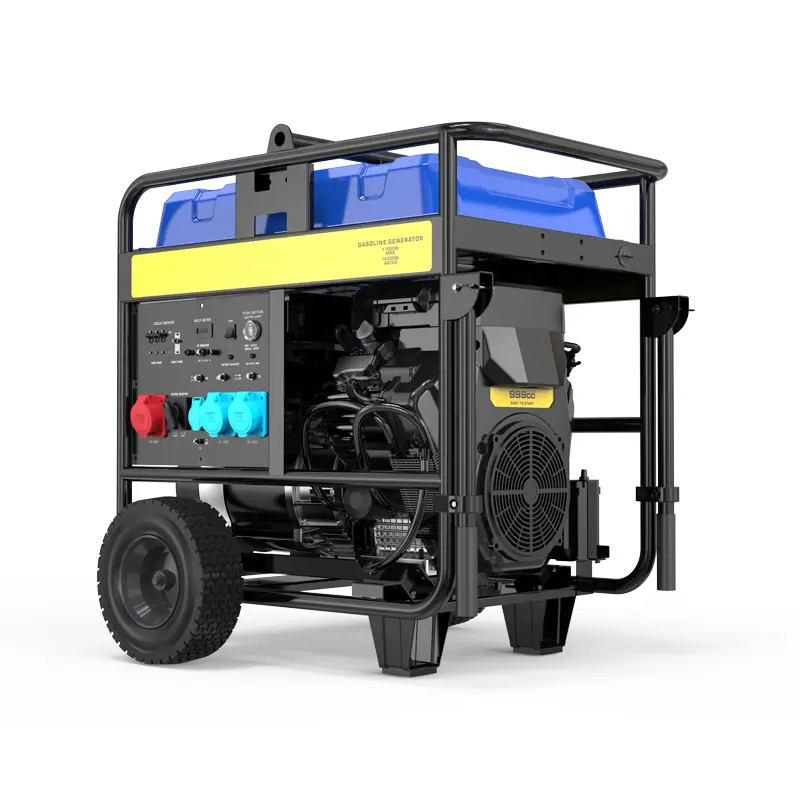
Step 2: Check the Circuit Breaker First
This is one of the most common reasons a generator runs but does not deliver power.
Many generators have a breaker that protects the machine from overload. If the breaker trips, the engine may continue running, but power will not reach the outlets. Generac’s troubleshooting guidance for standby units specifically notes that a generator may be running but not supplying power when the main line circuit breaker is not on.
What to do:
- Turn off the generator
- Locate the breaker or reset button
- Check whether it has tripped
- Reset it firmly
- Restart the generator and test again with a small load
If the breaker trips again immediately, stop there. That usually means there is either an overload, a short, or an internal electrical fault that needs more careful inspection.
Step 3: Disconnect All Loads and Start Again
A generator may fail to deliver usable output if too many devices are connected at startup, or if one connected device is faulty.
Here is the simple process:
- Unplug everything from the generator
- Start the machine with no load
- Let it warm up for a minute or two
- Plug in one small device only
- Test the output
If the generator works with a small load but fails when more devices are added, the issue may be overload related rather than a complete output failure.
Step 4: Inspect the Outlets
Sometimes the generator is running and building power internally, but the outlet itself is damaged or loose.
Check for:
- Burn marks
- Melted plastic
- Loose outlet sockets
- Broken covers
- Signs of moisture or corrosion
If one outlet is dead but another still works, the fault may be local to that outlet rather than the whole alternator system.
Step 5: Look for Loose or Damaged Wiring
If the generator has been moved often, used on jobsites, or stored for a long time, wiring connections can loosen.
Carefully inspect visible wiring for:
- Loose terminal connections
- Broken wires
- Burned connectors
- Corrosion
- Damage caused by vibration
Even a small loose connection can stop power from reaching the outlets.
Important note: always shut the generator off and let it cool before inspecting wiring.
Step 6: Test Output Voltage With a Multimeter
If the generator seems normal but still will not power anything, the next useful step is to check whether it is actually producing voltage.
A digital multimeter can help you confirm this. Fluke explains that to measure AC voltage, you set the meter to AC voltage, place the black lead in COM, the red lead in VΩ, connect the probes correctly, and then read the display. Fluke also emphasizes safe lead handling during measurement.
A simple check looks like this:
- Set the multimeter to AC voltage
- Start the generator
- Carefully test the output at the outlet
- Compare the reading with the generator’s rated output
If the reading is close to normal, the issue may be with the outlet, plug, or connected load.
If the reading is very low or zero, the problem is likely inside the generator’s electrical output system.
For readers who want a clear guide to measuring AC voltage safely, Fluke’s tutorial is a good reference.
Step 7: Consider Whether the Generator Has Lost Residual Magnetism
This sounds technical, but the basic idea is simple.
Some generators need a small amount of magnetism inside the alternator to start producing electricity. If the unit has been stored for a long time or not used regularly, that residual magnetism may weaken. When that happens, the engine can run normally, but the generator may not build output voltage.
This is one possible reason when:
- The engine runs smoothly
- The breaker is fine
- The outlets look normal
- The voltage reading is zero or very low
This issue is more advanced than a basic user check, so many users prefer to have a technician inspect it.
Step 8: Check the AVR or Capacitor
If your generator uses an AVR (automatic voltage regulator) or a capacitor for voltage control, failure in one of these parts can stop power output or cause weak and unstable output.
Possible signs include:
- No voltage at all
- Voltage that is too low
- Output that comes and goes
- Lights that flicker badly
These parts are important because they help regulate the electrical output. If they fail, the engine may still run, but the generator cannot produce stable usable power.
If you are not comfortable testing electrical components, this is a good point to stop DIY troubleshooting and ask for support.
Step 9: Inspect the Brushes and Slip Rings if Your Model Uses Them
Some generators use brushes and slip rings to transfer current. If the brushes are worn, stuck, dirty, or damaged, output may be lost.
This is more common on older or heavily used machines.
Possible signs:
- The generator has many running hours
- Output stopped gradually
- There is visible wear or dust around the brush area
- Voltage is inconsistent or absent
Brush inspection is not the first thing most users need to do, but it becomes relevant after the simple checks above have already been ruled out.
Step 10: Think About Recent Use, Storage, or Overload History
Ask yourself a few quick questions:
- Was the generator overloaded recently?
- Was it stored for months without running?
- Has it been exposed to rain or heavy humidity?
- Did the problem start after transport or repair?
- Did it suddenly lose power while under heavy load?
These clues matter because they often point to the real cause. A unit that sat unused for a long time may have lost magnetism. A unit that was overloaded may have a tripped breaker or damaged regulator. A unit used in rough environments may have loose wiring or outlet damage.
A Simple Troubleshooting Order to Follow
If you want the shortest path, use this order:
- Test another device
- Check the breaker
- Remove all loads and restart
- Inspect the outlets
- Look for loose wiring
- Measure output voltage
- Check for AVR, capacitor, or brush problems
- Contact a technician if the issue remains
This order helps you avoid jumping straight to complicated repairs.
When You Should Stop and Ask for Help
You should stop DIY troubleshooting and contact a professional if:
- The breaker keeps tripping
- You smell burning
- The wiring looks damaged
- The generator shows zero voltage after basic checks
- The AVR, capacitor, or brushes may be involved
- You are not confident using a multimeter safely
Trying random repairs without diagnosis can make the problem worse.
Final Thoughts
If your generator is running but not producing power, do not assume the whole machine is ruined. Many cases come down to a few practical causes: a tripped breaker, a bad outlet, loose wiring, low output voltage, a failed AVR, worn brushes, or lost residual magnetism. Manufacturer troubleshooting guidance and multimeter testing best practices both support starting with the simplest electrical checks before moving into deeper component diagnosis.
Start with the easy steps, test carefully, and move one stage at a time. That approach is safer, faster, and much easier to understand.
If you still cannot solve the issue after the checks above, please contact us below. Our experts can help you troubleshoot the problem and guide you toward the right solution for your generator.